

I would love to hear from you. Tell me what you think.
Have a wonderful 4th of July!


 This week's sketch, #294
by Julee Tilman, is just another example of how we can combine simple yet fun embellishments to dress up a card. Once again I had fun using some of the super colorful papers
from Close To My Heart's Dream Pop collection.
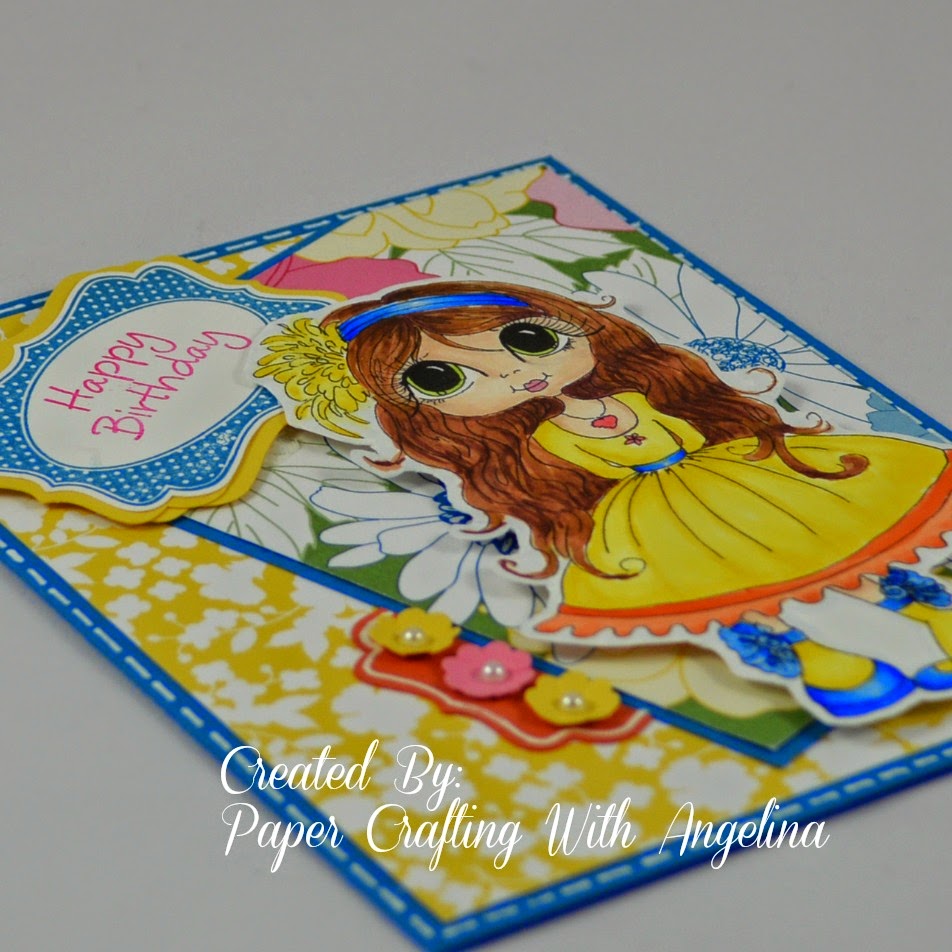
This week's sketch, #294
by Julee Tilman, is just another example of how we can combine simple yet fun embellishments to dress up a card. Once again I had fun using some of the super colorful papers
from Close To My Heart's Dream Pop collection. The stitching around the card face was done using the For Always Cardmaking Workshop stitching stamp. I enjoyed using this stamp to accomplish the stitching. The stitching around the focal image was done free-hand. I used Pink Glitter Gems in 3 different sizes as final accents to this fun and versatile card. A sentiment can easily be added when it is time to send this beauty!
 |
| The darling little gal (Flower Power Daisy Graduates) on these cards comes from Digital Delights by Louby Loo. Both of these cards are, Gift Card/Money holders, of course! |

